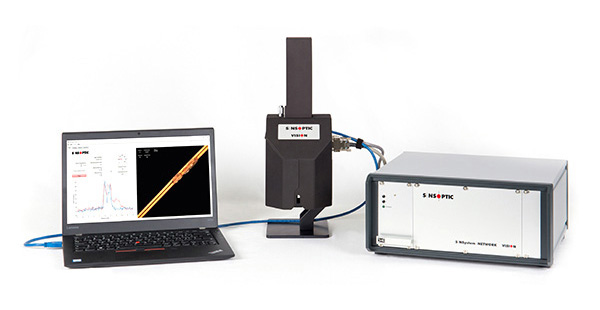
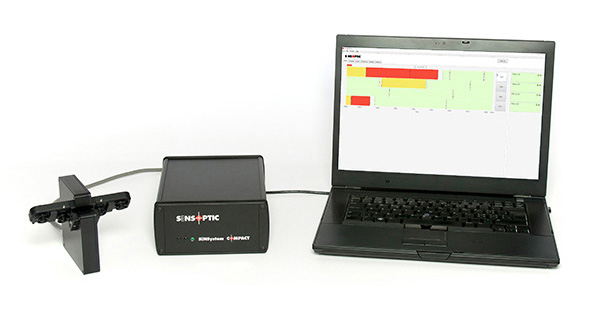
Sensoft Vision Installation for PXT
Requirements
- PC with a USB 3 plug socket
- Display with minimal resolution 1600 × 800 pixels
- Windows 10 or later
- PoE+ switch
Download
- Sensoft Vision 1.7.zip (1100 MB)
Installation
- Connecting the hardware
Two cables come out of the sensor. Depending on the camera type they are two Ethernet cables or an Ethernet and a USB cable. Connect the Ethernet cable(s) to the LAN through a PoE+ switch and, if present, the USB cable to a USB 3 port of the computer. - Installing the software
Run the installer in the zip. - Start guide
There is a video Setup & Start Guide explaining in detail any process from installation to first measurements and a video Sensoptic Vision Software Guide explaining the main software features.
Changelog
- Sensoft Vision 1.7:
- Support for PXT, the fully digital tri-axial sensor
- All Digital outputs now support pulses and criteria with fault length
- Sensoft Vision 1.6:
- OPC UA: Added labels Product, Order and Description. Right-click on the Spool identifier field and select Show
- Sensoft Vision 1.5:
- Advanced criteria as in Sensoft Multiline. Right-click on the Threshold field and select Use Advanced Criteria
- Sensoft Vision 1.4:
- Report with summary data of each measured spools of the day
- Vision measurements can be seen from Sensoft Multiline (real-time but no photos) along with other lines
- Sensoft Vision 1.3:
- Support of second camera for photo of rear side of filament
- You can now add comments to noteworthy faults. In page Results, right-click the fault picture and select Add Comment. To go to the next fault that has a comment, press "c"
- The maximum value of the tacho scale is now saved to the configuration file
- Support for flat wires. You can select different diameters and thresholds for the two axes
- A warning is now displayed if an incompatible software version is running on Sensystem Network
- Sensoft Vision 1.2:
- OPC UA support. View the specifications
- Sensoft Vision 1.1:
- Velocity can be taken either from rotary encoder or manually set. To switch, click the right mouse button on the velocity field and select an entry in Velocity Source
- The field Data on page Results now optionally displays the number of faults and wire length next to the filename
- Maximum photo repetition rate increased from 16 to 24 fps

